Your cart is currently empty!
Blog
April 06, 2023
Blog
How to Hold a Pistol
April 06, 2023
One of the most fundamental skills of every great shooter is the ability to correctly hold a pistol or firearm. It would be a whole lot simpler if everyone were exactly the same. However, we are not the same, and many of us have very unique physical differences that make holding a pistol challenging.
Those differences are primarily the size of our hands and the length of our fingers. To make this process harder is the fact that different handguns have different physical characteristics such as a shorter or longer pistol grip.
Those differences make it a challenge to gain as much purchase on the pistol grip and gun to provide a stabilized and secure hold that helps you control the gun, its recoil, and the ability to shoot multiple rounds without having to significantly re-aim the pistol.
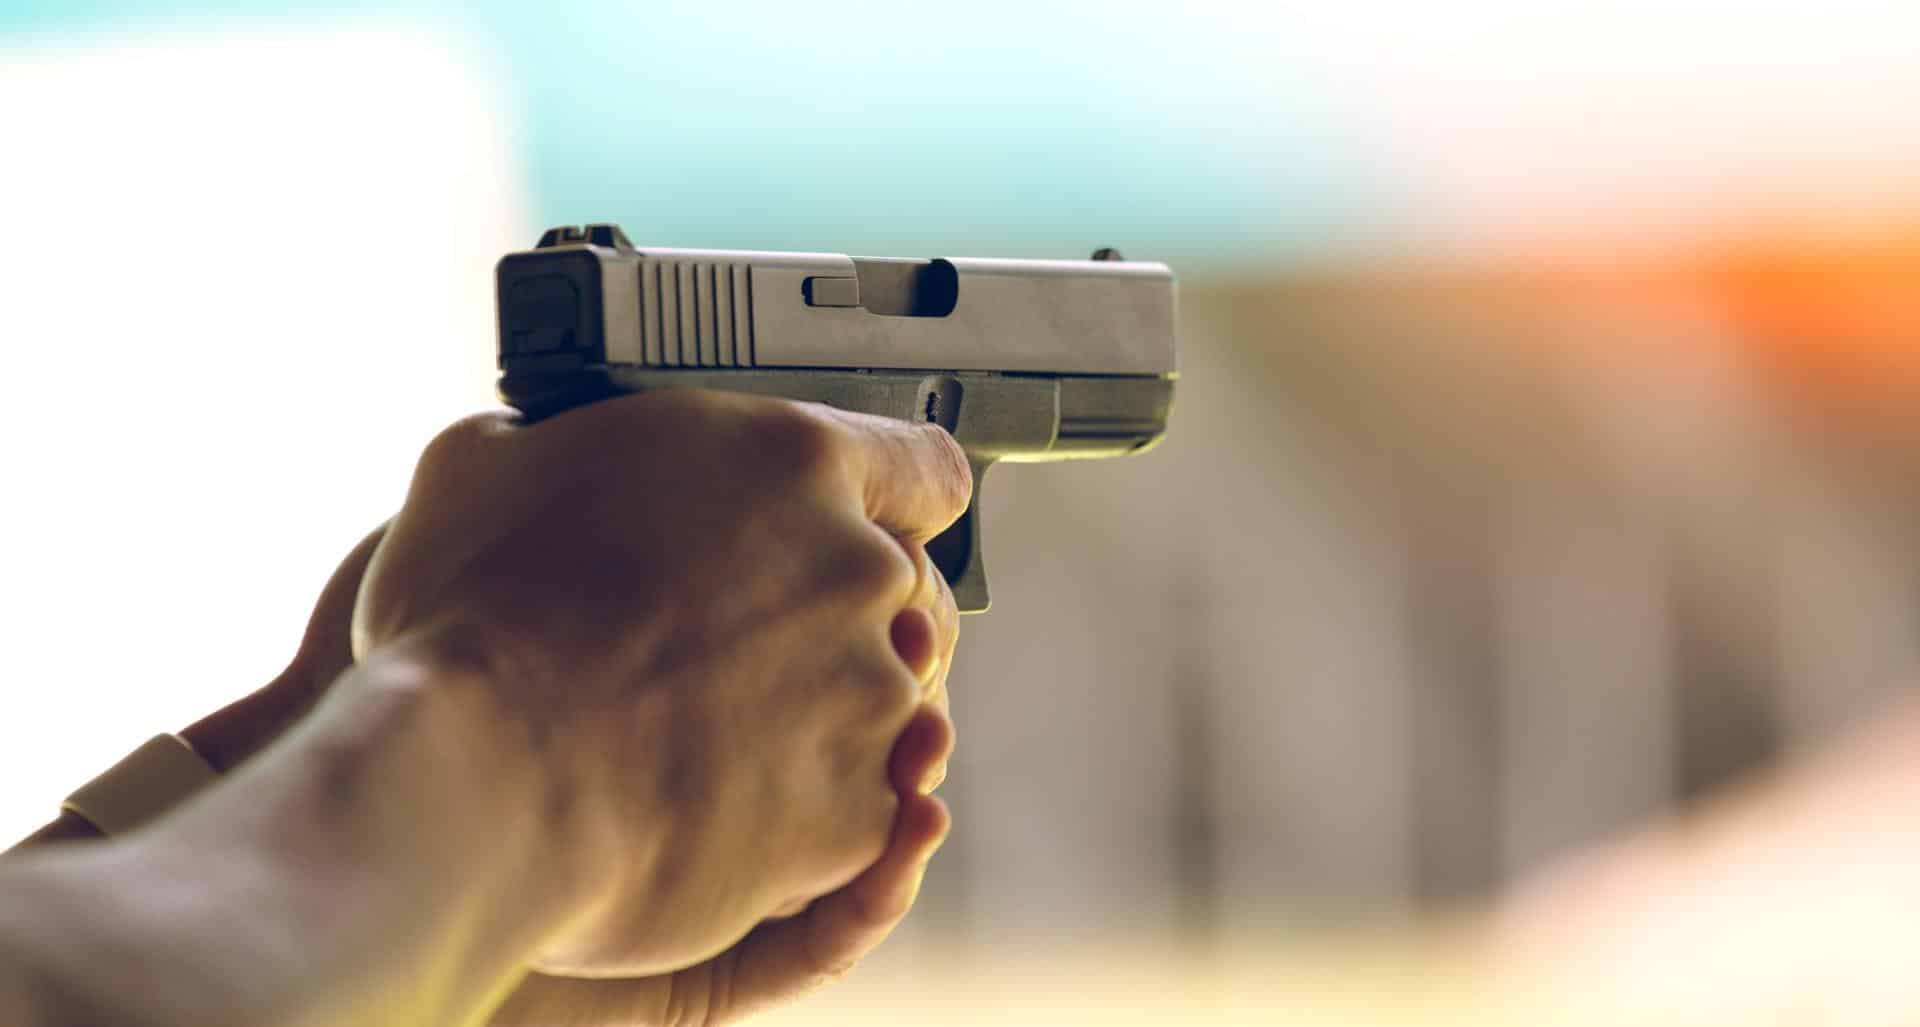
Your index finger is your trigger finger, and the length of this digit helps you correctly shoot the pistol. In addition, correctly holding a pistol requires your dominant hand and your support hand to make a two-handed grip. A proper grip encases the gun in a way that allows the pistols slide to operate but also does not block the slide lock if your gun is so equipped.
A few things to note here:
1.Grip – refers to your hand’s ability to grip the gun. If we are referring to the pistol grip, we are referring to the textured piece of the gun behind the trigger where your palm and lower three fingers hold the gun.
2.Revolvers – How you hold a revolver is slightly different from how you hold a pistol. In this blog, a pistol is not the same as a revolver. The big difference is that pistols are generally semiautomatic and have a slide that kicks back to reload the next round. A revolver has a cylinder magazine that revolves to position the next round.
How to Hold a Pistol
Step 1 – Identify the slide and its action. You do not want your fingers to be on the slide or in a position where the slide may cause damage when it moves.
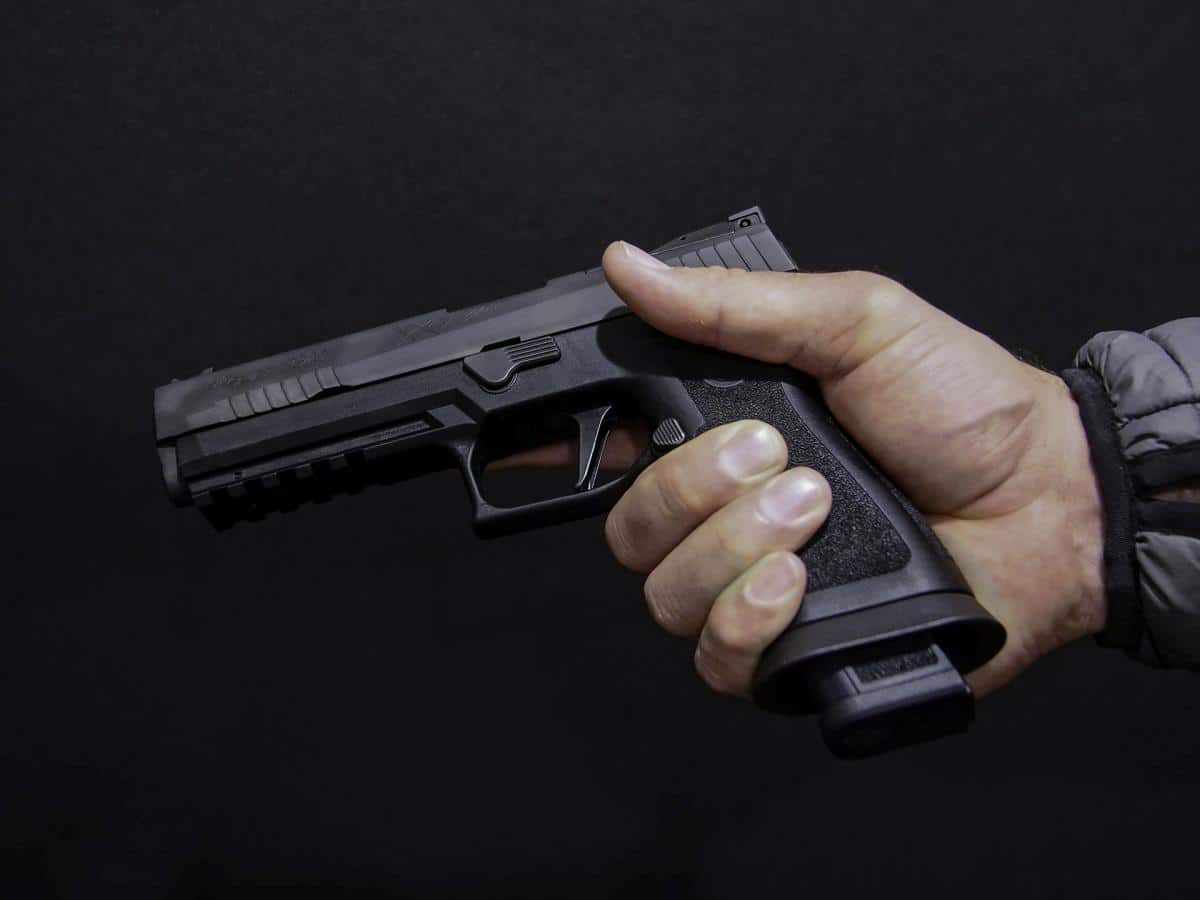
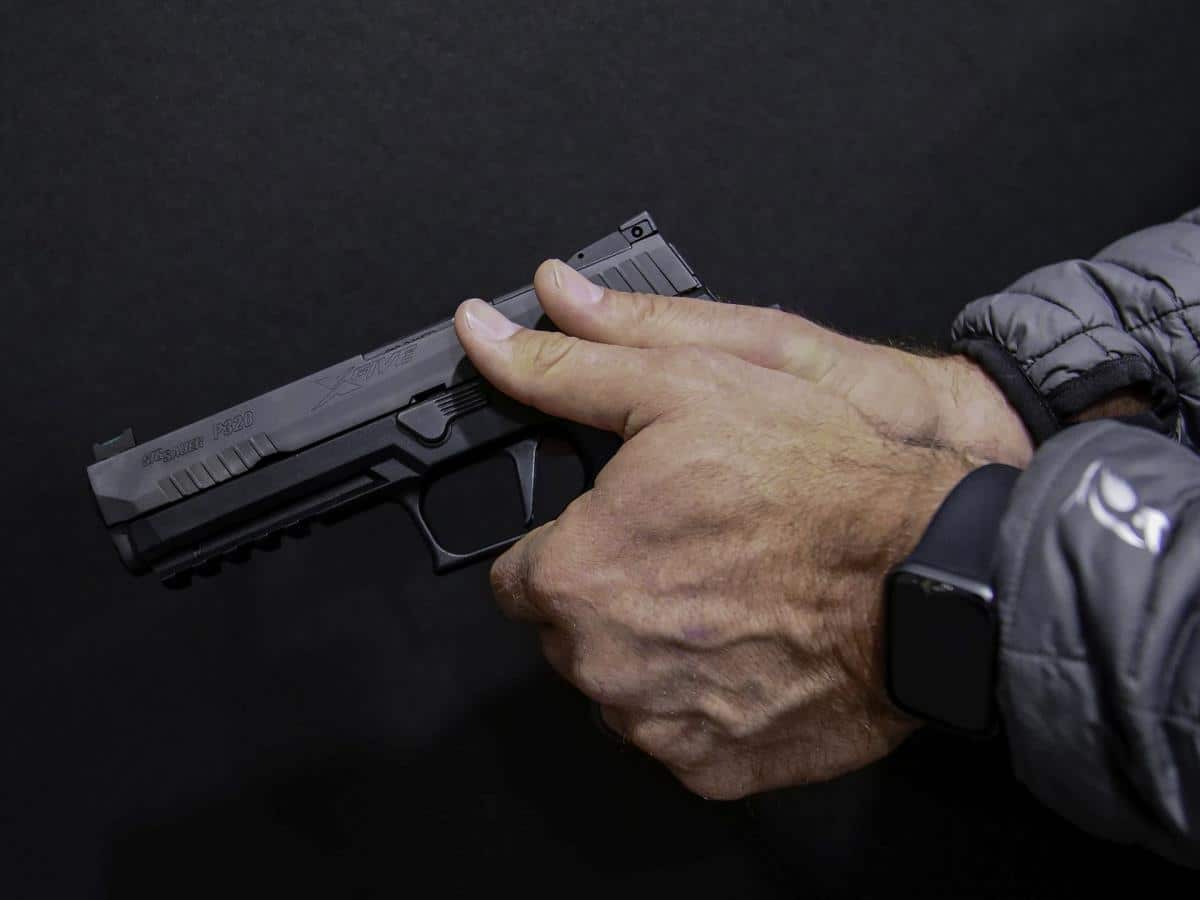
Step 2 – Place your dominant hand, also referred to as the shooting hand, as high as possible on the grip. You want the crotch of your hand – the section between your thumb and index finger – to fit firmly into the back trap of the grip. If you examine the grip, you will notice a curved section near the hammer or back of the slide. That is the back trap, and it is the seat of power when it comes to your grip on the gun.
Step 3 – Extend your trigger finger along the gun under the slide. If you make a “finger gun” with your hand, that is the beginning placement position for holding a pistol. Your index finger is extended your thumb is up and the bottom three fingers of your hand are wrapped around the grip.
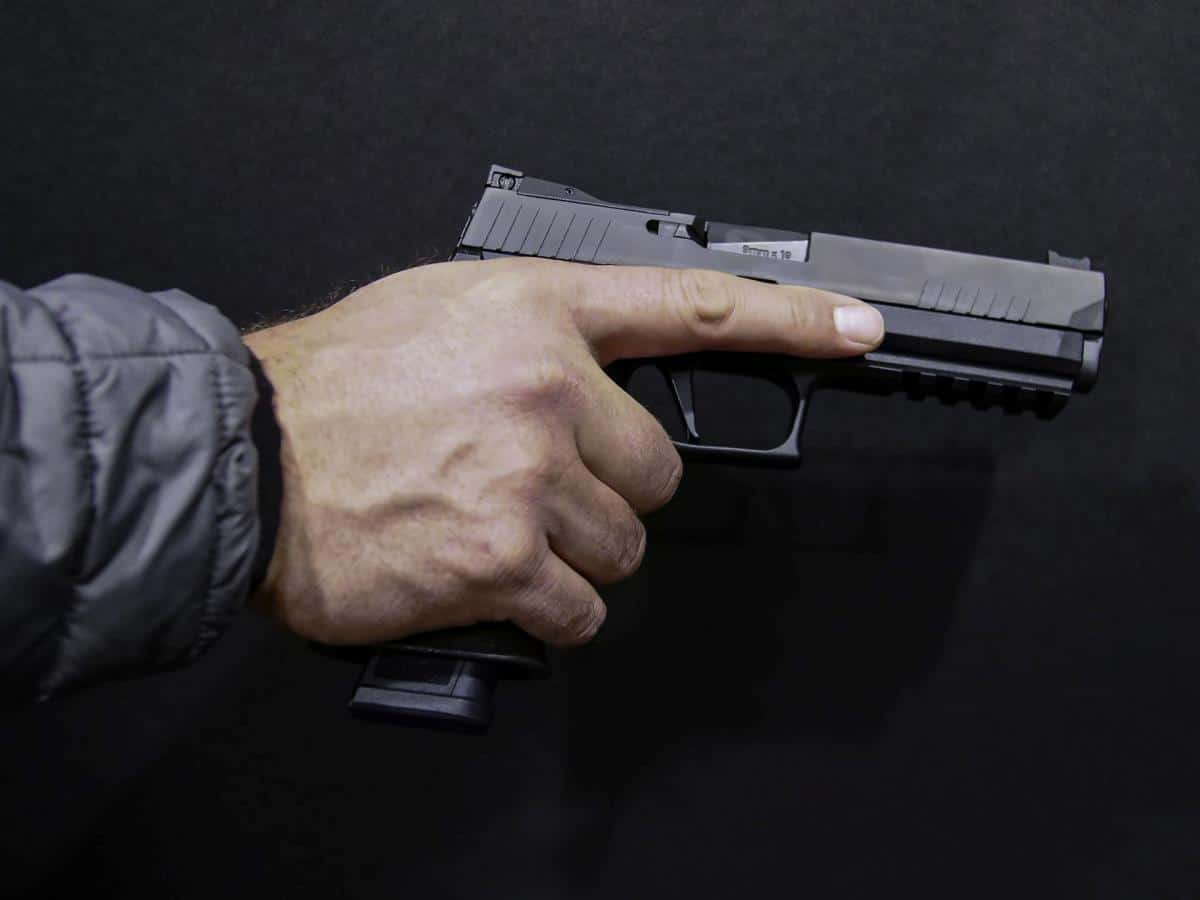
Step 4 – Positioning the fingers of your firing hand – The index finger sits along the bottom of the slide. Your bottom three fingers – the pinky, ring finger, and middle finger will wrap around the bottom of the pistol grip snugly to the trigger guard and hopefully, they are not extending below the pistol grip. Your thumb is the last digit to position, and it can sit along the bottom of the slide. It will act as a counter-support to your trigger finger. When you are ready to shoot, you will place your trigger finger, which is currently positioned on the bottom of the slide, into the opening between the trigger and the trigger guard.
NOTE: The slide moves and it can injure your fingers if they are too close. You want your fingers to sit as high as possible but not so high that they are injured by the slide.
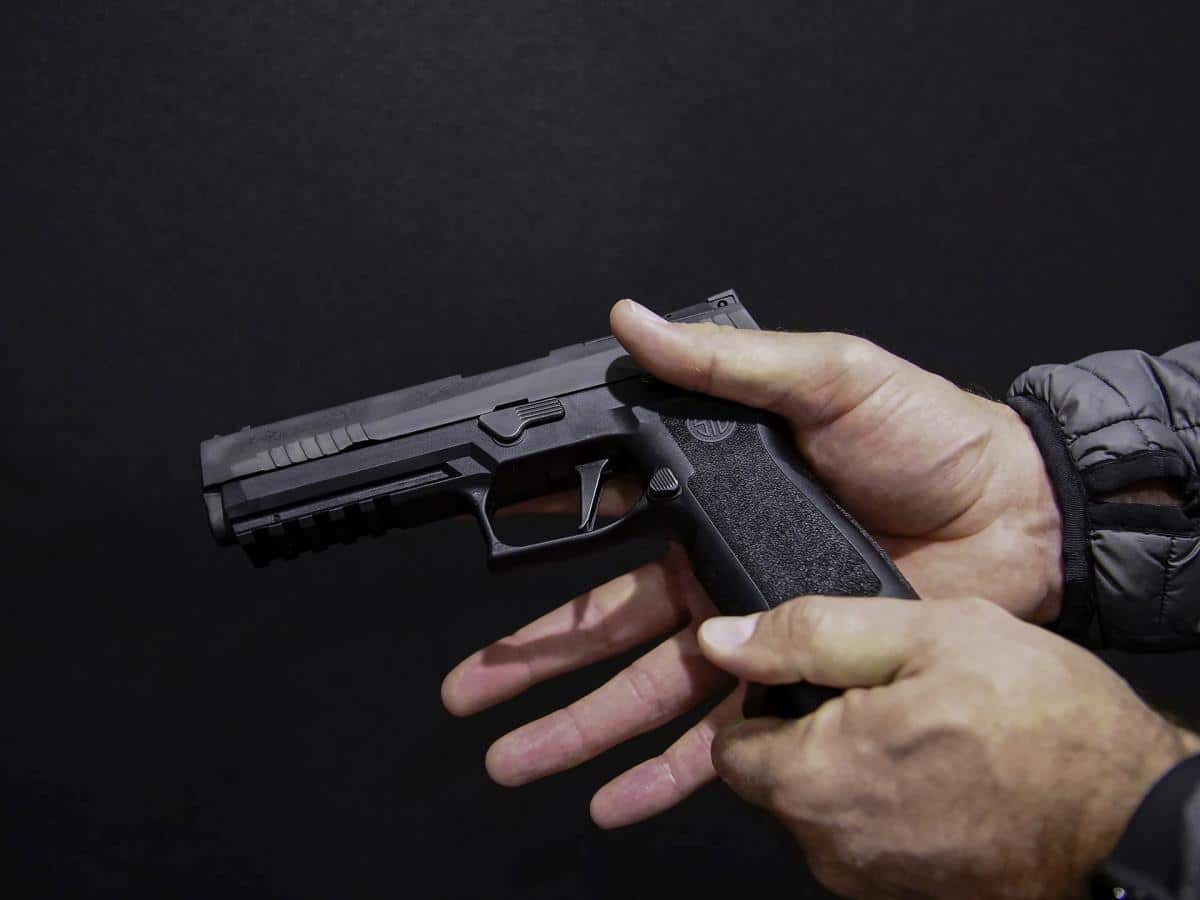
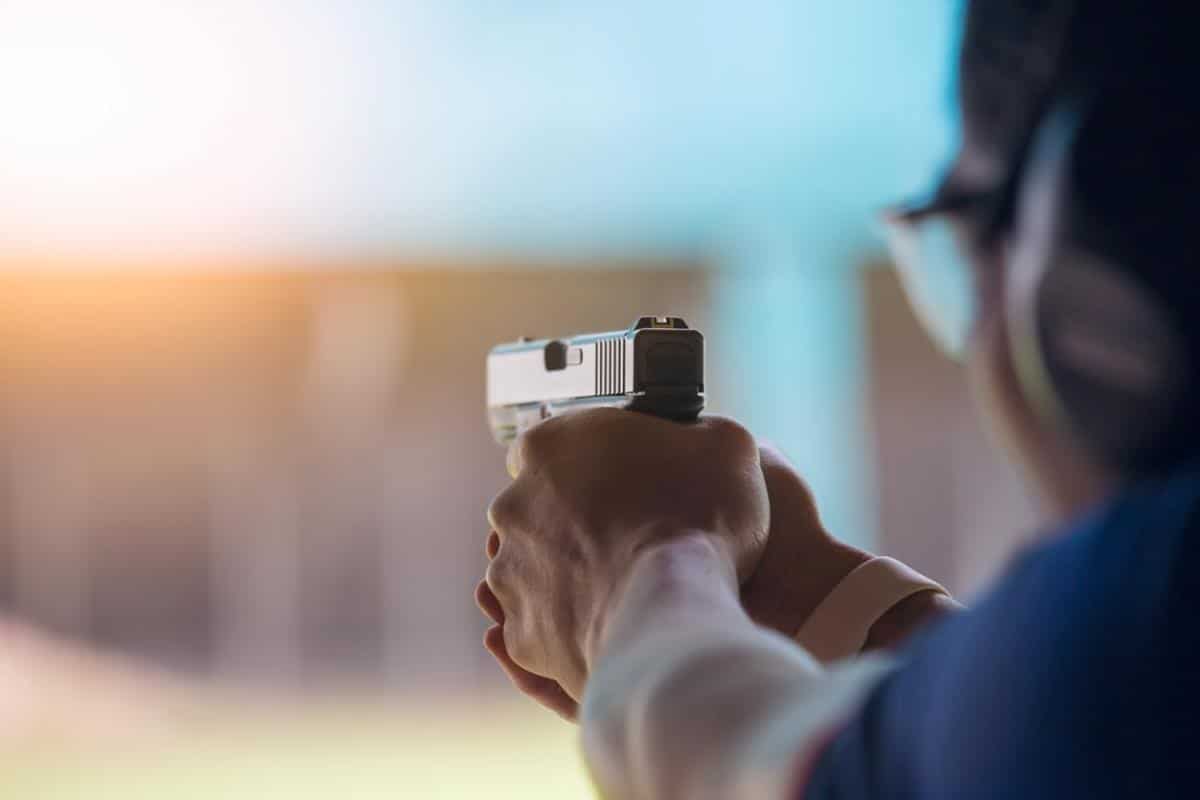
Step 5 – Positioning your non-dominant hand – Your non-dominant hand acts like a cupping grip that helps to support your dominant hand while also giving you a stabilizing force that helps with recoil control and to support the weight of the gun for longer periods. You begin this process by opening your palm and placing your second hand alongside the gun on the opposite side of your dominant hand. Once it is there, rotate your entire hand down so that the heel of your thumb – the bump below your thumb joint – is nestled into the pocket of your thumb on the dominant hand.
Note: This position will be different for everyone. The goal is to create a tight grip that is comfortable for you and that provides the best support for your dominant hand.
Step 6 – Place the three lower fingers on your non-dominant hand – These fingers – the pinky, ring finger, and middle finger, wrap around the grip and overlap the pinky, ring finger, and middle finger of your dominant hand. The angle is slanted so that the front of your palm – the area near the fingers – cushions the fingers of your dominant hand and the palm of your hand fills the space over the rest of the pistol grip.
Step 7 – Placing the Index finger and Thumb of Your Non-dominant Hand – Your index finger of your non-dominant hand rests along the barrel of the gun, below the slide. Your thumb of your non-dominant hand also sits along the top side of the gun below the slide. Your thumb of your dominant hand wraps around the base of the thumb of your non-dominant hand. That weaving helps to secure your grip on the gun and provides a stable casing for the pistol.
Those seven steps will vary slightly for everyone. They help you to create a movable and stable grip so that you can position and aim your pistol rapidly. It also allows you to support the pistol. You grip from your bottom fingers into the palm of your hand just in front of the pistol grips. Your fingers along the barrel and below the slide are there to help you stabilize the gun in a side-to-side method. Because your non-dominant wrist is at an angle, it helps you keep from tilting the gun up and forces you to maintain a more level position for aiming.
How to Aim a Pistol
Sight Alignment with iron sights – sight alignment is aligning your vision so that the rear sight and the front sight appear as one. That means you are looking straight down the barrel at the target. If the gun is tilted, you would not be able to align the rear sight with the front sight without cranking your head out of its own alignment.
Your goal with iron sights is to visually set the front sight between the two pillars of the rear sight and also so that the front sight is not sticking up above the implied horizontal line between the top of the two rear sight pillars. Doing this allows you to level the pistol horizontally and vertically.
Hold – means how you position the aligned front and rear sights onto the target. You are aiming your pistol and the hold is where on the target the sights fall. For example, if you were shooting a target, you would align the sights so that they fell on the target in the middle of the bullseye.
Some pistols come with a combat hold. The above is for a center hold. When your pistol has a combat hold you put the front sight over the area you want to hit. You’ve done the same alignment from the rear sight to the front sight and now you position the front sight over the spot you want to hit. With a center hold, you are positioning the sight so the top of the sight is where you want to hit. With a combat hold, the front sight is sitting over the spot. Sometimes with a center hold, there may be a red or orange dot on the front sight. That dot would go over the spot you want the bullet to enter.
Aiming and Gripping Your Pistol
When you fire the pistol, you want the gun to move as little as possible. That makes it faster and easier to realign the sights and the place the proper hold where it needs to be. In a non-critical situation, you have time to align all of the sights and then place them on the target. In a critical situation, time matters, and you may not get off a second shot if you are struggling to aim the gun beyond a point-and-shoot approach. Every shot matters and building skill means every bullet is hitting the mark.
SIGN UP FOR OUR NEWSLETTER