Your cart is currently empty!
Blog
November 08, 2023
Blog
How to Clean Brass for Reloading
November 08, 2023
In the world of reloading, where precision and consistency are paramount, the significance of clean brass cannot be overstated. Brass is the lifeblood of ammunition, and ensuring its cleanliness is a key step toward maintaining the reliability and accuracy of your firearm.
Dirty or tarnished brass can lead to several issues that impact the overall performance of your ammunition. First and foremost, residue buildup can obstruct the primer pocket and hinder the ignition process. This, in turn, may result in misfires or erratic shot patterns, affecting your shooting experience. Furthermore, uncleaned brass can wear down your firearm’s chamber and lead to costly repairs over time. So, cleaning brass is not only a matter of firearm longevity, but it’s also crucial for your safety.
Several factors come into play when it comes to efficient brass cleaning and with so many techniques available, it can be overwhelming to select the best approach for your specific needs. In this blog, we’ll guide you through different techniques for cleaning brass, helping you make an informed decision that best suits your requirements.
Different Techniques to Clean Brass
When it comes to cleaning brass, there’s no one-size-fits-all solution. Different techniques offer particular advantages and disadvantages, which is why the technique you choose is ultimately a choice of personal preference based on a few factors. In this section, we will provide an overview of the most common methods for cleaning brass and dive into the pros and cons of each approach.
OVERVIEW OF DIFFERENT TECHNIQUES FOR CLEANING BRASS
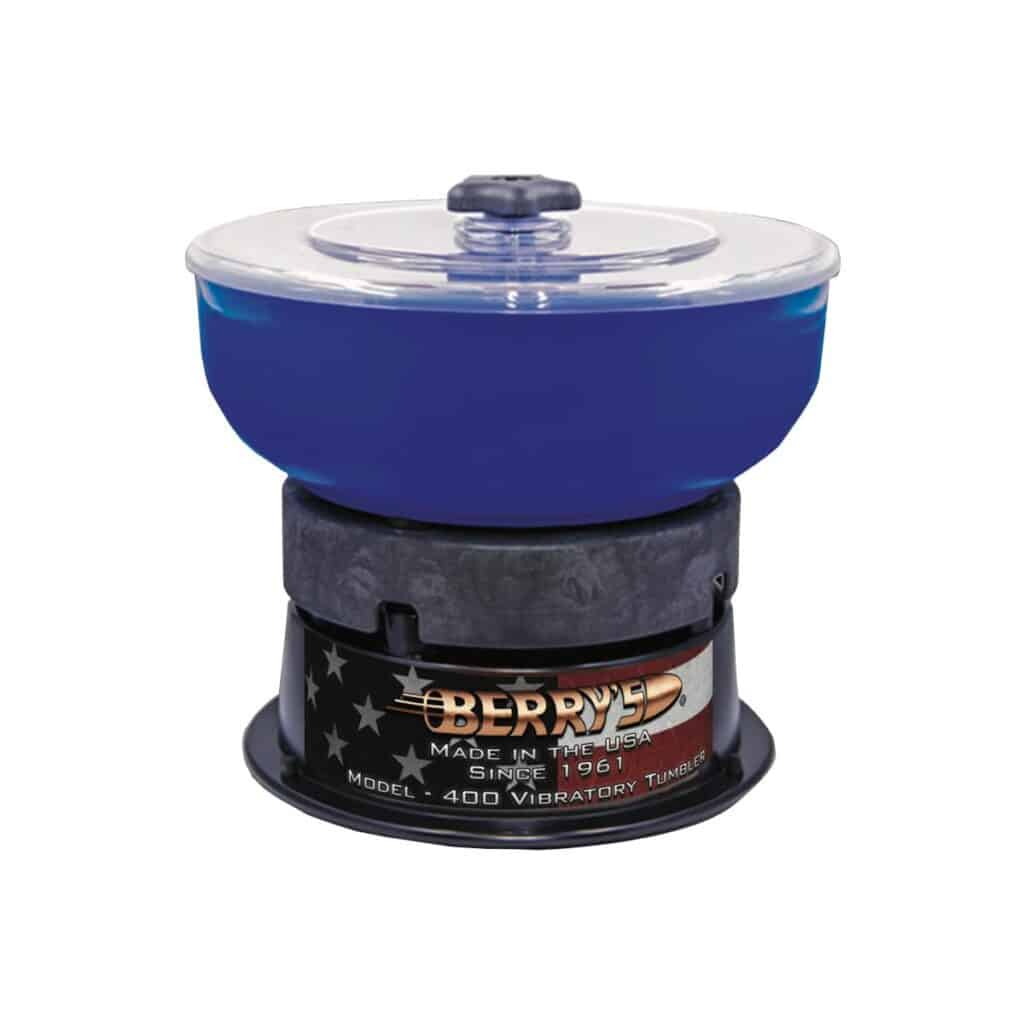
- Dry Tumble: Dry tumbling is a traditional method where brass casings are placed in a rotating drum with cleaning media. This technique is known for its simplicity and effectiveness. The tumbling action removes dirt, debris, and oxidation, leaving your brass casings looking clean and shiny.
- Wet Tumble: Wet tumbling, on the other hand, involves immersing your brass casings in water mixed with cleaning agents and stainless steel pins. The vigorous agitation of the water and media cleans the brass thoroughly. Wet tumbling is known for its ability to restore brass to a like-new condition.
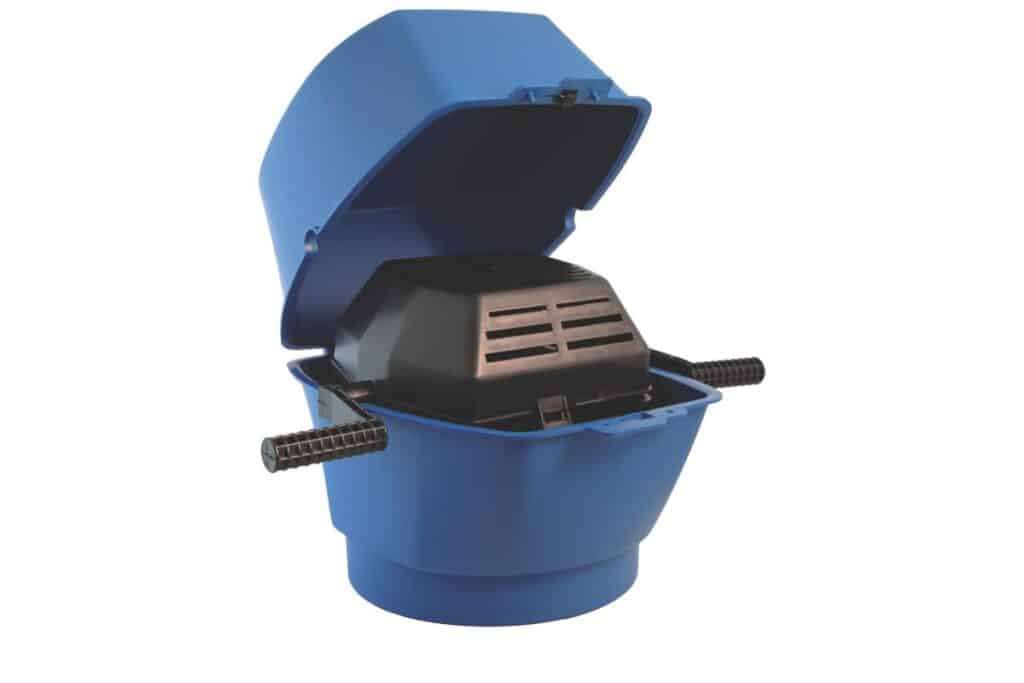
- UltraSonic Tumblers: UltraSonic brass cleaning tumblers work by using high-frequency sound waves to create tiny, rapidly expanding and collapsing bubbles in a cleaning solution, which effectively agitate and remove dirt, debris, and fouling from the surface of brass casings, leaving them clean and polished.
Now, let’s take a closer look at the pros and cons of using each of these techniques…
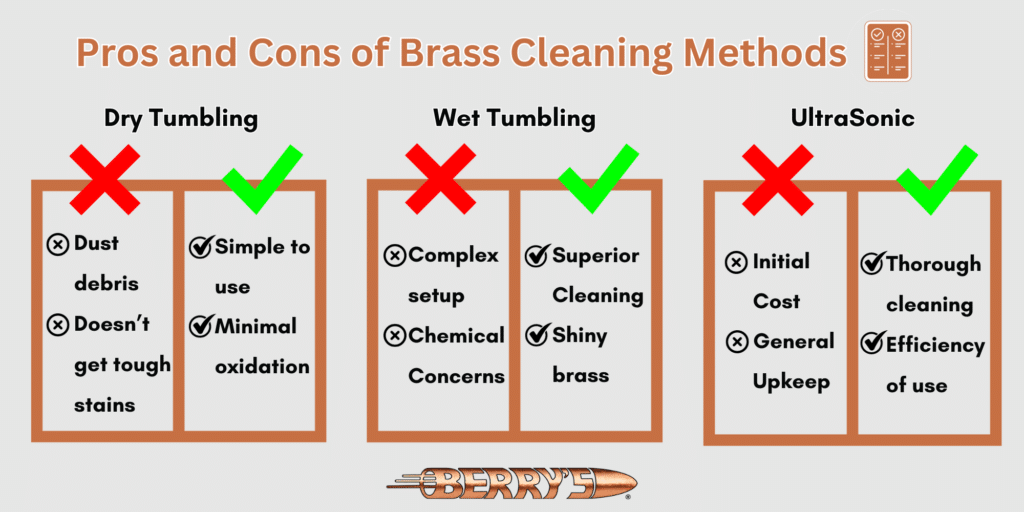
PROS & CONS OF DRY TUMBLING
Pros:
- Simplicity: Dry tumbling is straightforward and requires minimal setup. All you need is a dry tumbler, media, some polish, and your dirty brass.
- Minimal Oxidation: This method introduces the least amount of oxidation to the brass, making it a great choice for maintaining the integrity of your casings over time.
Cons:
- Dust: Dry tumbling generates powder residue from the media, which creates the need for safety glasses.
- Limited Cleaning Power: While it’s effective in most cases, dry tumbling may not remove tough stains.
PROS & CONS OF WET TUMBLING
Pros:
- Superior Cleaning: Wet tumbling excels at thoroughly cleaning brass casings, removing even the toughest residues.
- Shiny Brass: It leaves your brass looking immaculate and polished, akin to new brass casings.
Cons:
- Complex Setup: Wet tumbling requires more equipment and preparation, including water, cleaning agents, and stainless pins.
- Chemical Concerns: Water used in wet tumbling can change chemically based on the condition of the dirty brass and the cleaning solution used.
PROS & CONS OF ULTRASONIC CLEANING
Pros:
- Thorough Cleaning: Ultrasonic tumblers provide thorough and consistent cleaning of brass casings, reaching into intricate crevices and hard-to-reach areas.
- Efficiency: Sonic cleaner can clean brass quickly, reducing the manual labor and time required for cleaning.
Cons:
- Initial Cost: Ultrasonic tumblers can be relatively expensive to purchase compared to other cleaning methods like vibratory tumblers.
- Maintenance: They require regular maintenance, including cleaning the transducers and replacing solution, which can add to the overall cost and upkeep.
Step-by-Step Guide: Dry Tumbling vs. Wet Tumbling
Now that you have a good understanding of the various techniques for cleaning brass, it’s time to delve deeper into the comparison between the two most popular methods: dry tumbling and wet tumbling. Choosing the right method can significantly impact your reloading process, so let’s assess these methods based on key factors such as time, cost, ease of use, and cleaning effectiveness.
DRY TUMBLING: BRASS CLEANING PROCESS
Dry tumbling is a reliable and straightforward method for cleaning your brass casings. Follow these steps to achieve optimal results:
Step 1: Gather Your Equipment
To get started with dry tumbling, you’ll need the following equipment:
- A vibratory tumbler
- Media: Choose from corn cob or walnut media
- Brass casings to be cleaned
- Berry’s Bullets Brass Bright Polish
- A rotary media separator
Step 2: Add Media, Brass, and Polish
Place your chosen media into the dry tumbler. First, just add in a half tablespoon to a tablespoon of Berry’s Brass Bright Polish and let it run so they can get acquainted and don’t clump together. Then, add your brass casings to the media and polish mix.
Step 3: Tumble
Close the tumbler securely and turn it on. Let the tumbler run for the recommended time, which typically ranges from 1 to 4 hours, depending on the degree of cleaning required. The abrasive action of the media will remove dirt, residue, and oxidation from the brass casings.
Step 4: Inspect and Finish
Once the tumbling cycle is complete, carefully remove the brass casings from the media using a rotary media separator. Inspect them for cleanliness and shine. If needed, you can use a cloth or brush to give them a final polish.
WET TUMBLING: BRASS CLEANING PROCESS
Wet tumbling is an excellent choice for achieving a deep clean and shiny finish on your brass casings. Here’s how to do it:
Step 1: Gather Your Equipment
For wet tumbling, you’ll need the following equipment:
- A rotary tumbler
- Stainless steel pins
- Brass casings to be cleaned
- Water
- Berry’s Bullets Brass Bright Polish
Step 2: Add Brass, Water, and Pins
Place your brass casings into the rotary tumbler. Add a sufficient amount of stainless steel pins to cover the casings. Then, add water and Berry’s Bullets Brass Bright Polish to the tumbler for added cleaning power.
Step 3: Tumble
Close the rotary tumbler securely and turn it on. Let it run for a recommended time, typically ranging from 1 to 4 hours, depending on the degree of cleaning needed. The combination of water, stainless steel pins, and polish will effectively remove fouling and restore the shine to your brass.
Step 4: Rinse and Dry
After tumbling, drain the water and pins from the tumbler. Rinse the brass casings thoroughly to remove any remaining cleaning solution and debris. Allow them to dry completely.
By following these step-by-step instructions, you can choose the brass cleaning method that suits your specific needs, whether it’s dry tumbling for simplicity and cost-effectiveness or wet tumbling for a deep clean, and shiny finish. If you are looking for a more in-depth analysis of dry tumbling vs wet tumbling, check out our blog that discusses these two methods in more detail.
Cleaning Brass: Important Aspects to Note
Having explored the various techniques for cleaning brass and made a case for dry tumbling, it’s time to dive into the specifics of the brass cleaning process. Here, we’ll provide tips and insights to help you achieve clean and reliable ammunition.
IMPORTANCE OF CLEANING PRIMER POCKETS
One often overlooked step in brass cleaning is the need to clean the primer pockets thoroughly. Residue and debris can accumulate in these pockets, affecting ignition and, consequently, the reliability of your ammunition. Use a primer pocket cleaning tool to ensure they are free from obstructions.
USING CITRIC ACID AND STAINLESS STEEL PINS WHEN WET TUMBLING
For a more thorough cleaning, consider adding citric acid and stainless steel pins to your wet tumbling mix. Citric acid aids in removing tough stains and oxidation from the brass, while stainless steel pins provide additional abrasion to ensure your casings are spotless.
BRASS CLEANING WITH DISH SOAP AND DISTILLED WATER
Some reloaders may use dish soap and distilled water in their wet tumbling process. While this can help with cleaning, it may not be as effective as using dedicated brass cleaning solutions. High-quality cleaning solutions, such as Berry’s Bullets Brass Bright Polish, are formulated specifically for brass cleaning and produce superior results.
USING A MEDIA SIFTER
After tumbling, it is important that you have a media sifter on hand to separate the dry media from the clean casings. This can come in the form of a simple pan sifter, or an efficient rotary media sifter.
BERRY’S BULLETS MEDIA SEPARATOR KIT
For dry tumbling, ensure that your vibratory tumbler is running at the recommended speed and duration. The exact settings may vary depending on the equipment you use, so refer to the manufacturer’s instructions for guidance.
To make your brass cleaning process even more efficient, we highly recommend using Berry’s Bullets Media Separator Kit. This comprehensive kit includes:
- Vibratory Tumbler
- Pan Sifter or Rotary Sifter
- 6lbs of 14/20 corn cob media (dry media)
- Berry’s Brass Bright Polish
This kit is designed to be an all-in-one solution to your brass cleaning needs and a testament to Berry’s Bullets’ commitment to providing you with the best tools and resources for successful reloading.
The Importance of Clean Brass for Reloading
The difference between clean, well-maintained brass and tarnished, dirty casings is night and day. Clean brass ensures the reliability and accuracy of your ammunition. It reduces the risk of misfires, prevents chamber wear, and ultimately contributes to a safer and more enjoyable shooting experience. On the other hand, dirty brass can lead to misfires, erratic shot patterns, and potential damage to your firearm.
To achieve consistent and safe reloading, it’s essential to make brass cleaning a routine part of your process. Regularly inspect and clean your brass casings to ensure they’re in top condition. By doing so, you’ll not only enhance the performance of your ammunition but also extend the life of your firearm.
HOW BERRY’S BULLETS CAN HELP
At Berry’s Bullets, we do more than just manufacture superior plated bullets. We are your trusted partner in the world of reloading and shooting. Our commitment to quality goes beyond our products to the knowledge and expertise we share with you. Our Media Separator Kit is a testament to our dedication to your success. We provide you with the tools and resources necessary to ensure your brass is always in top condition.
SIGN UP FOR OUR NEWSLETTER