Your cart is currently empty!
Blog
December 13, 2023

Blog
Berry’s Bullets’ Guide to Checkering a Gunstock
December 13, 2023
Many gun enthusiasts understand and enjoy the art of checkering a gunstock. If you’re new to the topic or seeking to refine your skills, this comprehensive guide by Berry’s Bullets will provide valuable insights.
THE PURPOSE OF CHECKERING
Checkering a gunstock serves more than one purpose. At its core, it provides a secure grip, reducing the likelihood of slippage even in wet weather conditions. This enhancement improves safety and control, which is important for every firearm user. However, beyond its practicality, checkering also adds an aesthetic appeal, often becoming a testament to a shooter’s style and a symbol of precision craftsmanship.
THE BASICS OF CHECKERING A GUNSTOCK
Checkering involves engraving intersecting lines or multidirectional patterns into the wood stock of a firearm, primarily on the grip and forearm areas. This process ultimately creates raised diamonds that provide a tactile surface for improved handling. The process requires precision, persistence, a steady hand, and a trusty set of checkering tools.
NO ONE WAY
It’s essential to remember that checkering a gunstock is an art. Everyone has their unique style — some choose a two-panel pattern while others prefer a design that wraps around the top of the stock. Some choose to leave a generous margin from the edge of the gunstock and others like the checkering to flow all the way to the edge. Some favor a curved outline above straight lines. Personal preference has a large part to play, which adds to the personalized nature of this craft.
This guide will provide a step-by-step method for gunstock checkering, suitable for both novices and experienced firearms enthusiasts. Through this article, we aim to provide you with the knowledge to give you total confidence in your ability to checker a gunstock.
Step-by-step Guide to Checkering a Gunstock
Now that you understand the basics and importance of gunstock checkering, we will delve into a detailed guide that will help you conduct the checkering process.
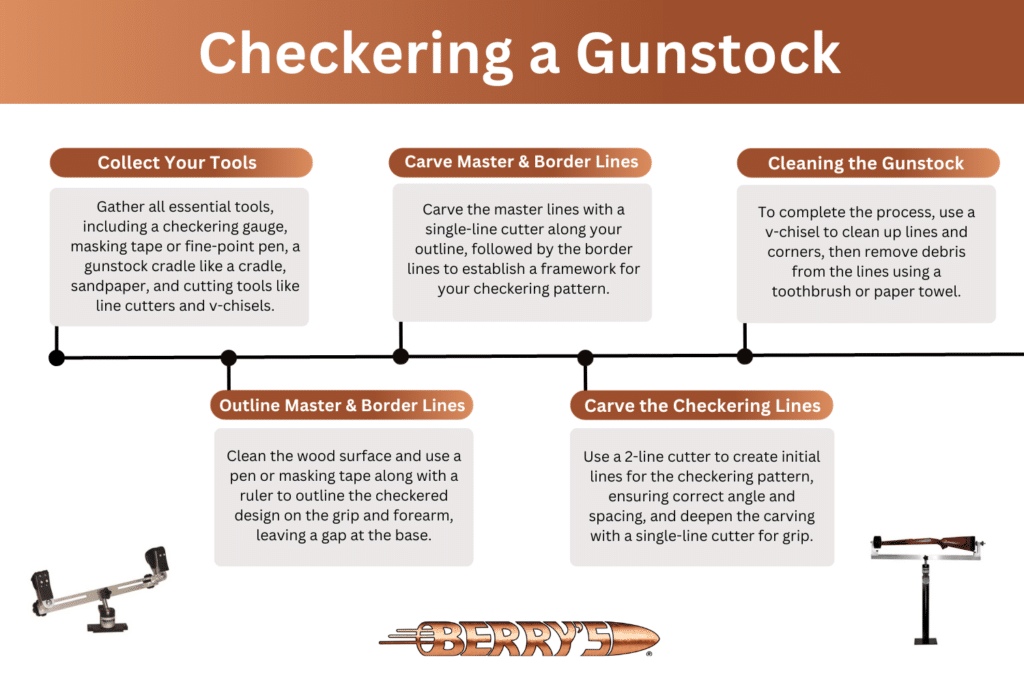
1. COLLECT YOUR TOOLS
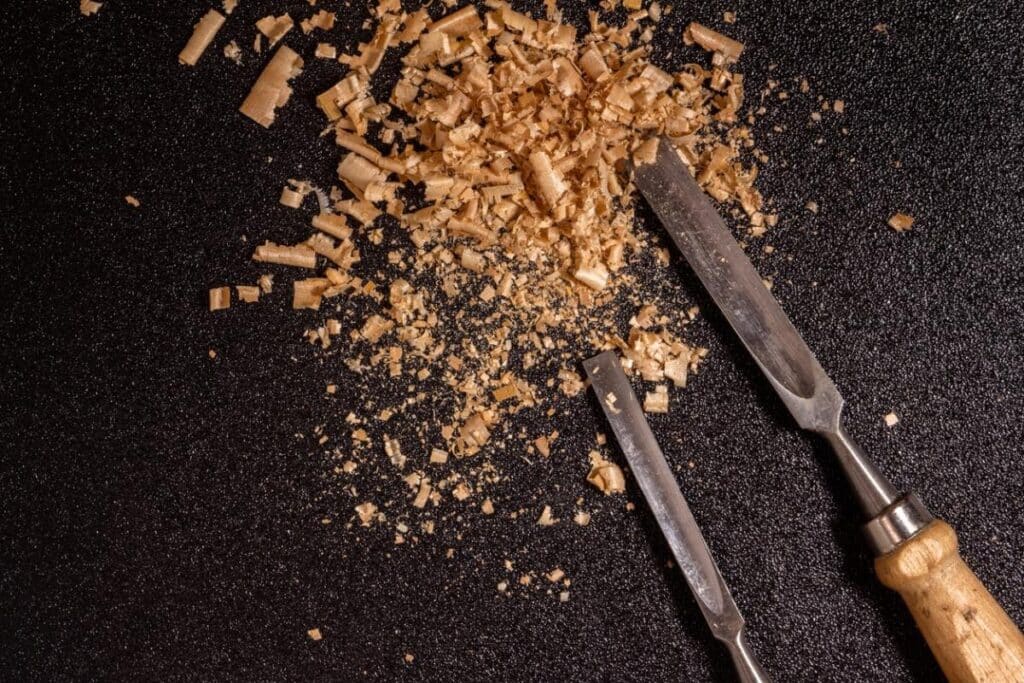
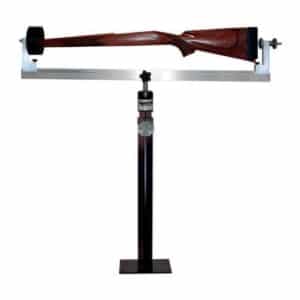
Before you start, it’s important to collect all the right tools you’ll need for the process. Some tools are essential while some come highly recommended for a more professional or precise outcome. Essential tools for checkering a gunstock include a checkering gauge, masking tape or a fine point non-permanent pen, and a cradle to hold your gunstock like the Checkering Vise System from Berry’s Bullets. A sandpaper or a steel wool pad may also come in handy to prepare the wood surface, correct minor mistakes, or erase marks made with your fine-point pen. With regards to cutting tools, we recommend you have a line cutter, single-line cutter, and v-chisel.
2. OUTLINE THE MASTER & BORDER LINES
Once you have your tools, we can move on to outlining the master lines and border lines. This step may seem daunting, but it lays the groundwork for the rest of the checkering process. First, ensure your wood surface is clean and free of any oils. Then, use your fine point pen or masking tape and a ruler to outline where your checkered design will go, often long the grip and forearm on both sides of the gunstock. There is hardly a reason to checker underneath the gunstock, so we recommend leaving a 3/4 inch gap at the base of the design.
3. CARVE OUT THE MASTER & BORDER LINES
With your outline marked, now is the time to carve the master lines. The master lines serve as reference points for your checkered pattern and steering the process correctly from the start is critical for a clean outcome. Use a single-line cutter to carve these master lines along your outline. Following the master lines, carve the border lines, creating an outline for your checkering pattern. You will then want to use a single-line cutter to obtain a consistent depth (these lines will act as the framework for the depth of the entire design).
4. CARVE THE CHECKERING LINES BASED ON THE MASTER & BORDER LINES
Next, you’ll use a 2-line cutter to make initial lines that will form the grids of the checkering pattern. This process will depend on the desired checkering pattern, be it a pointed, flat top, or semi-flat top pattern. Pay extra attention to maintaining the desired angle and line spacing (using a 2-line cutter for this will help with spacing). Also, make sure to go over the carving a few times with a single-line cutter to deepen the checkering for the best gripping surface.
5. CLEANING THE GUNSTOCK
Lastly, the cleaning process is crucial to ensure a tidy finish. First, use a v-chisel to clean up the lines/corners and ensure there are no wood remnants still stuck to the stock. Then, use a toothbrush or a paper towel to fully clean the debris out of the lines.
Throughout the process, using the proper cutter and maintaining the focus distance are of vital importance. As you proceed, the lines should remain straight to uphold the symmetry and aesthetics of your design. Your patience and precision will pay dividends in the final outcome.
Common Mistakes and How to Avoid Them
Having provided the basic steps for checkering a gunstock, it’s equally important for us to inform you of the common mistakes that occur during this process. More than just wrong steps or errors, these can be small detours that land you in a confusing maze.
MISTAKE #1: INCORRECT LINE SPACING
One of the most common errors comes in the form of incorrect line spacing. It’s essential to maintain consistency in your checkering pattern. The spacing between individual lines in your pattern should be uniform across the entire checkered area to ensure a cohesive look. Incorrect line spacing can be avoided by measuring often and taking regular breaks to assess the overall look of your work. There are also tools designed to help you maintain consistent spacing.
MISTAKE #2: TOO DULL OF LINES
Another common mistake is not creating a sharp point at the intersection of the lines. If the points of your checkered pattern are dull or uneven, it will not only affect the grip but the aesthetic appeal as well. Keeping your checkering tool sharp and going over your lines 2-3 times can help achieve those sharp-pointed diamonds a checkered pattern is known for.
MISTAKE #3: OVERSHOOTING THE MASTER & BORDER LINES
Maintaining the integrity of the master lines is yet another aspect where errors occur. Overshooting past the master lines or the border lines creates an uneven appearance. Luckily, by deepening the master lines and border lines before moving to the checkering lines (as long as you go slow) your tool will naturally stop when you hit them.
MISTAKE #4: DEALING WITH AN ANGULAR DESIGN
Dealing with an angular design can also prove challenging for beginners. Symmetry in an angular design is pinnacle, and minor errors can throw off the entire pattern’s aesthetics. A tip to counter this is practicing on a flat piece of wood before proceeding to your gunstock. Remember, that your actual work will be done on a curved surface so a straight line will likely be harder to trace when you move to your actual stock. Regardless, practice always helps.
AVOIDING THESE MISTAKES: THE IMPORTANCE OF THE PROPER TOOLS
In avoiding such mistakes, the tools you use play a significant role. Versatility and precision in tools like the line cutter, single line cutter, cutter head, and v-chisel, are built exactly for such reasons. Another important tool is a proper checkering cradle for stability. As a solution to this need, Berry’s Bullets offers our Checkering Vise System so you can tackle stock checkering with confidence.
CHECKERING A GUNSTOCK: FINAL THOUGHTS
By this point, you should have a comprehensive understanding of the intricate world of gunstock checkering. From understanding the importance of checkering a gunstock to learning the step-by-step process, and finally, common mistakes and how to avoid them.
Checkering is, above all else, an art that merges aesthetics and practicality. Every diamond you carve contributes to the overall look and feel of the gunstock while also enhancing safety and handling. Much like any other art, it involves patience and precision, but it also brings about a sense of accomplishment and pride in the final product.
As you set off on your checkering journey, always remember to take frequent breaks to reassess your work from different angles and through different stages. It’s this methodical diligence, combined with the right tools, that will help you master the art of checkering.
How Berry’s Bullets Can Help
Berry’s Bullets is not just a supplier but a trusted companion on your checkering journey. Our Checkering Vise System offers the perfect solution for securing your gunstock while you work with our 360° Ball & Case supporting ease of use. Our commitment to quality extends beyond our products to our will to assist you with invaluable advice and guidance throughout the process. We take immense pride in facilitating your firearm adventures and crafting experiences. With persistence, precision, the correct tools, and a helping hand from the team at Berry’s Bullets, you’re set to undertake your gunstock checkering project.
SIGN UP FOR OUR NEWSLETTER